If you’re new to sleep patches, the #1 reason people struggle isn’t the patch…
It’s consistency.
They use it a few nights, then stop because:
- it feels annoying while sleeping
- it peels at the edges
- it ends up in a high-friction spot
- they can’t remember where they put it last time
So the goal here isn’t “perfect placement.”
It’s easy placement you can repeat.
This guide gives general, safe placement tips that help your sleep patch stay comfortable, stick better, and fit your nightly routine (results vary).
Disclaimer: This content is for general educational purposes and is not medical advice. Always follow the official product instructions. If you have sensitive skin, discontinue use if irritation occurs.
Quick start
- Sleep routines + basics: Sleep Patch Hub →
- New to patches? Start Here →
- Shop: https://MyPatchWorks.com/product
- Pricing / sample options: Pricing
The best placement is the one you’ll actually repeat
Forget “magic spots.”
Your best placement is:
- comfortable while sleeping
- low friction (not rubbed by clothing or bedding)
- on clean, dry skin
- easy to remember and rotate
If your placement is annoying, you won’t stick with the routine — and consistency is the real driver of results.
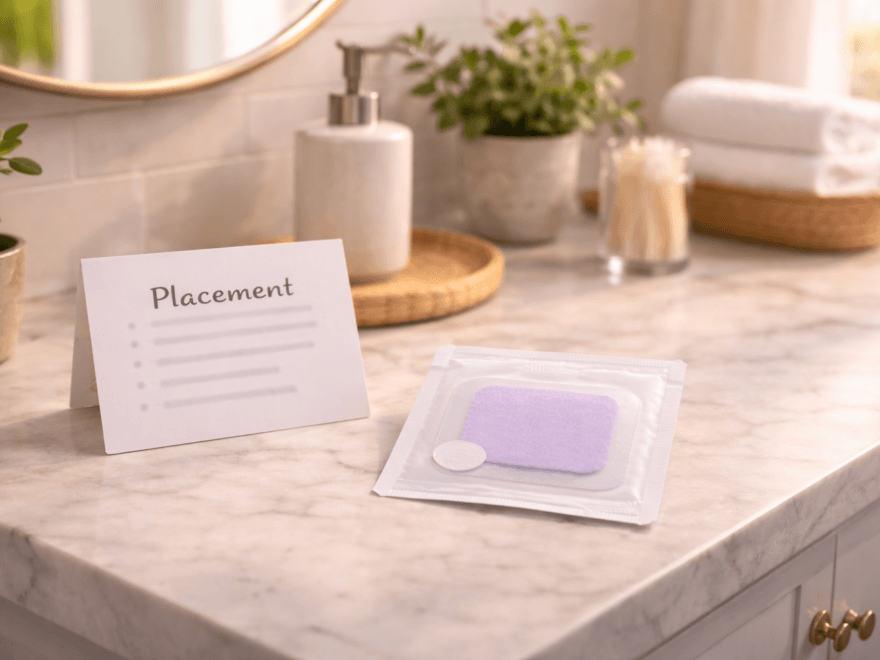
General placement tips (simple + practical)
1) Choose a low-friction area
Your sleep patch is more likely to stay put if you avoid:
- waistbands
- tight seams
- spots where you twist a lot
- areas you sleep directly on (if you’re a side sleeper)
Look for:
- flatter areas
- spots that don’t fold repeatedly
- areas your pajamas won’t rub constantly
2) Avoid “pressure points” while sleeping
If you sleep on your side or stomach, avoid placing it where your body weight will press into it all night.
A patch can feel “fine” when you apply it, then feel annoying once you lay down.
Quick test:
- apply it
- lay in your normal sleep position for 30 seconds
- if it feels noticeable, move it
3) Apply to clean, dry skin (no lotion)
This matters for both comfort and staying power.
Before applying:
- wash and dry the area
- avoid lotion/oils/sunscreen on that spot
- press firmly for 20–30 seconds to set edges
4) Keep it consistent (same general zone for the week)
If you change placement every night, you’ll never know what works best.
A simple approach:
- pick one general zone you like
- rotate within that zone slightly each night
Example:
- Night 1: spot A
- Night 2: same area, slightly above
- Night 3: same area, slightly to the sideThis helps skin comfort and makes the routine repeatable.
5) Rotate placement (especially if you have sensitive skin)
Even if irritation is mild, using the same exact spot nightly can increase sensitivity.
Rotate placement and remove gently in the morning.
If you have sensitive skin:

“Where NOT to put it” (general guidance)
Avoid placing on:
- irritated, broken, or sunburned skin
- freshly shaved areas (if you tend to react)
- high-sweat/high-rub areas that peel quickly
- places that cause discomfort in your sleep position
And always follow the product’s official instructions if specific areas are recommended or excluded.
Quick adhesion upgrades (if it keeps peeling)
If you’re dealing with edge lift:
- apply after a shower (not before)
- press and set for 20–30 seconds
- avoid lotion in that area
- choose a lower-friction placement
- pat dry after sweating (don’t rub)
You can also reference:

The 7-night consistency plan (so you find “your” placement)
For 7 nights:
- choose one comfortable zone
- rotate slightly within that zone
- track:
- time to fall asleep (fast/medium/long)
- wakeups (0 / 1–2 / 3+)
- morning rating (1–10)
After 7 nights, you’ll know:
- what placement stays comfortable
- what placement stays stuck
- whether your routine is trending better
Explore more sleep routine structure here:
Bottom line
Placement doesn’t have to be complicated.
The best placement is the one that improves consistency:
- low friction
- comfortable in your sleep position
- clean, dry skin
- repeatable zone + gentle rotation
That’s how you make sleep support easier to stick with (results vary).
Next steps
Disclaimer: This content is for general educational purposes and is not medical advice. Results vary by person.